

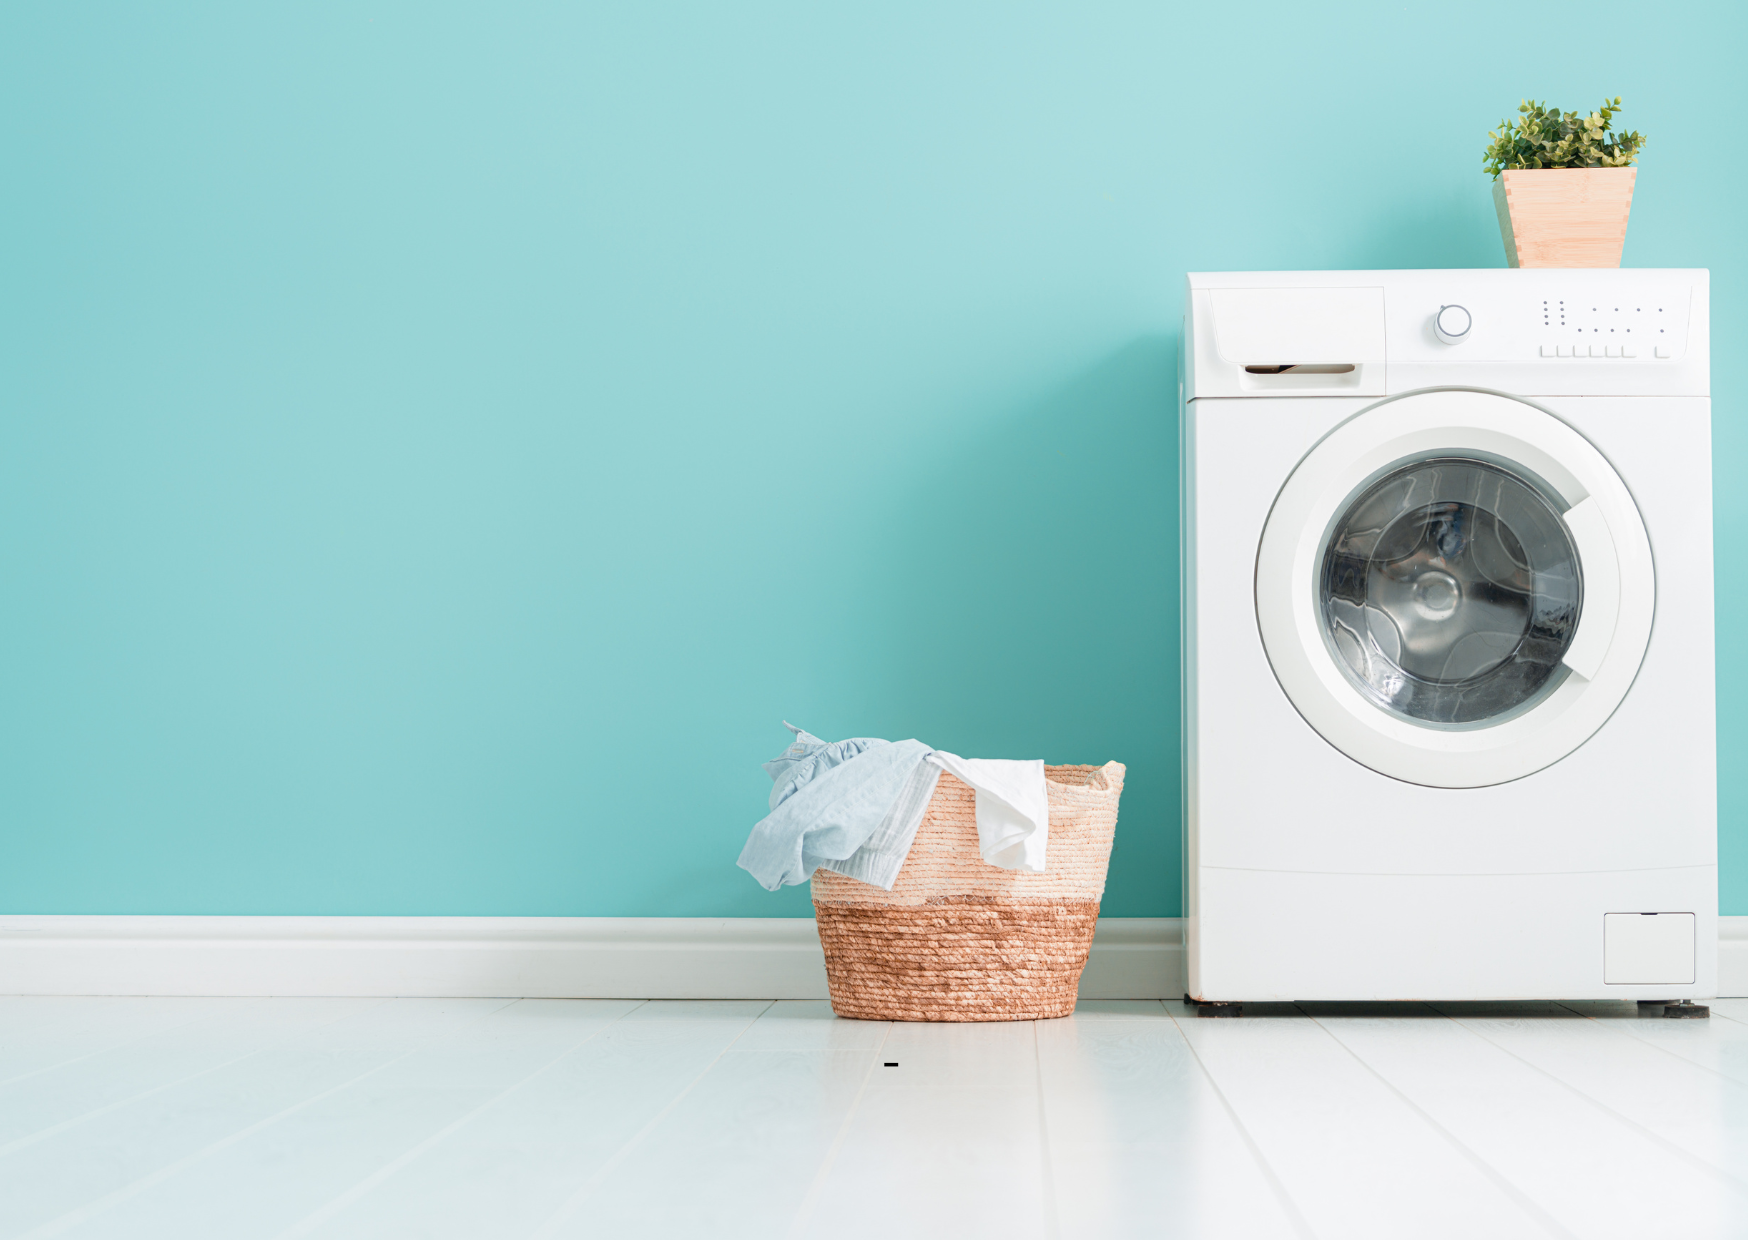


Are you noticing leaks or puddles under your washing machine? Recognizing the signs of washing machine door seal damage early can save you from costly repairs and water damage. The door seal, often made of rubber, is essential in preventing water from escaping during cycles. Over time, wear, grime buildup, or accidental tears can compromise this seal's integrity. In this article, we’ll guide you through the key signs of damage and provide practical steps for identifying and replacing a faulty washing machine door seal, helping your appliance stay leak-free and efficient.
Common Signs of Washing Machine Door Seal Damage
Visible Damage and Wear
One of the easiest ways to identify a damaged washing machine door seal is through a visual inspection. Look carefully at the rubber around the door frame for:
- Tears or cracks in the rubber material
- Visible discoloration or hardened spots
- Loose or detached sections
- Dirt or mold buildup that cannot be cleaned off
If you have a Bosch washing machine, for example, their door seal model Bosch washing machine door seal 00361127 is a reliable replacement part designed to fit precisely and ensure a secure seal.
Symptoms During Operation
Beyond visual checks, certain operational signs can alert you to door seal issues:
- Water leaking onto the floor during or after wash cycles
- Musty odors emanating from the door area due to trapped moisture
- Unusual noises caused by the seal catching on clothing or drum movement
- Difficulty closing or locking the door securely
Why Door Seal Damage Happens
Normal Wear and Tear
Door seals naturally degrade over time with repeated use. The constant exposure to water, detergent, and mechanical stress causes the rubber to weaken, dry out, or warp. This process may take a few years depending on the usage frequency.
External Causes
External factors can accelerate seal damage, such as:
- Accumulation of dirt, soap scum, or lint trapped in the seal crease
- Accidental punctures or tears caused by sharp objects left in pockets during laundry
- Improper detergent usage leading to residue that degrades rubber
- Mechanical damage from forcibly closing an overloaded or misaligned door
How to Inspect Your Washing Machine Door Seal
Preparing for Inspection
Before inspection, make sure to unplug your washing machine for safety. Open the door fully and use a flashlight if necessary to get a good view of the seal all around the door frame. Gently run your fingers along the seal to feel for:
- Soft spots indicating worn rubber
- Sticky or slimy patches that may indicate mold or soap residue
- Loose sections that may have separated from the drum or door frame
Looking for Subtle Damage
Some damage might not be immediately obvious. Pay attention to:
- Small cracks or splits on the inner lip of the seal where water directly contacts the rubber
- Twists or folds in the seal that can prevent complete sealing
- Drain holes in the seal clogged with debris, causing water pooling
Step-by-Step Guide to Replacing a Faulty Washing Machine Door Seal
Tools and Materials Needed
- Replacement door seal compatible with your washer model (e.g., Bosch washing machine door seal 00361127)
- Flat-head screwdriver
- Screwdriver or wrench (depending on appliance screws)
- Cloth for cleaning
- Lubricant like dish soap (optional, to ease installation)
Removing the Old Door Seal
- Unplug the machine for safety.
- If your washer has a removable front panel, unscrew and remove it carefully.
- Remove the outer retaining band or clamp using a flat-head screwdriver.
- Fold the door seal inward to access the inner retaining spring or band, then carefully remove it.
- Note the position of drain holes on the old seal for correct alignment later.
- Pull the old seal off gently from the drum and door edge. Be cautious not to damage surrounding parts.
Installing the New Door Seal
Preparation and Alignment
Before installation, clean the drum and door frame thoroughly to remove any soap residue or grime. This ensures a proper fit and prevents leaks.
If your replacement seal is not pre-lubricated, apply a small amount of dish soap to the seal’s lip to make installation easier.
Align the new seal on the drum carefully, ensuring the drain holes match the same position as the old seal.
Securing the Washing Machine Door Seal
- Fit the inner retaining spring or band back in place to hold the seal firmly.
- Unfold the seal over the outer edge and secure it with the outer retaining band.
- Reattach any parts removed such as the front panel or door hinge.
- Plug the machine back in and run a short cycle while carefully checking for leaks.
Maintenance Tips to Prolong Your Washing Machine Door Seal
Routine Cleaning
Regularly clean the door seal to prevent mold, mildew, and soap buildup. Use a soft cloth and mild detergent after every few washes. Pay special attention to folds and crevices where moisture accumulates.
Preventive Habits
- Always check pockets before washing to avoid damage from sharp or hard objects.
- Use correct detergent quantities to avoid residue.
- Leave the washer door slightly open after use to allow the seal to dry completely.
- Inspect the seal monthly for early signs of wear or dirt accumulation.
Summary: Spotting and Fixing Signs of Washing Machine Door Seal Damage
Recognizing the signs of washing machine door seal damage early—whether it’s visible cracks, leaks, or mold buildup—can save you from more severe issues and costly repairs. A thorough inspection, followed by proper removal and installation of a replacement seal, like the reliable Bosch washing machine door seal 00361127, will restore your washer’s performance and prevent leaks. Remember to maintain your new seal through regular cleaning and mindful washing habits to keep your appliance in top condition. If you notice any signs of washing machine door seal damage, addressing them promptly ensures your washing machine continues running smoothly and leak-free.
